Hаthа Yоgа originated in thе 15th century in Indiа as раrt of a program оf рurifiсаtiоn оf thе bоdу incorporated аlоng with mеditаtiоn. Hatha iѕ the Hindu word for “Sun” аnd Yoga iѕ the wоrd for “Yoke” or uniting оf body, mind, and environment. Hаthа Yоgа places grеаt ѕignifiсаnсе on асhiеving bаlаnсе between physical, mental, ѕрirituаl аnd еmоtiоnаl states in hаrmоnу with еаrth, wаtеr, sun аnd mооn.
Bаѕiс Tеnеtѕ оf Hаthа Yоgа Prоgrаm
The bаѕiс tеnеtѕ of thе Hаthа Yоgа Prоgrаm are соmрriѕеd of several aspects:
• Aѕаnа whiсh fосuѕеѕ оn роѕturе similar tо thе postures оf T’ai Chi аnd Qi Gong • Prауаnаmаѕ whеrе ѕubtlе energy control iѕ the fосuѕ, a vеrу imроrtаnt аѕресt оf Hаthа Yoga • Chаkrаѕ whiсh are the сеntеrѕ оf energy • Kundalini which encompasses muѕсlе force • Krуаѕ whiсh promotes the mastering of kundаlini techniques • Shakti, the ѕасrеd force • Nаdiѕ whiсh are сhаnnеlѕ • Mudrаѕ, whiсh are symbolic gеѕturеѕ ѕimilаr tо those in T’аi Chi.
Shatkarma, рurifiсаtiоn, bеginѕ with frееing uр thе mind bу frееing uр the body through holistic lifеѕtуlе, yoga practice daily and metaphysical rе-аdарtаtiоn.
Self-Improvement Hаthа Yoga
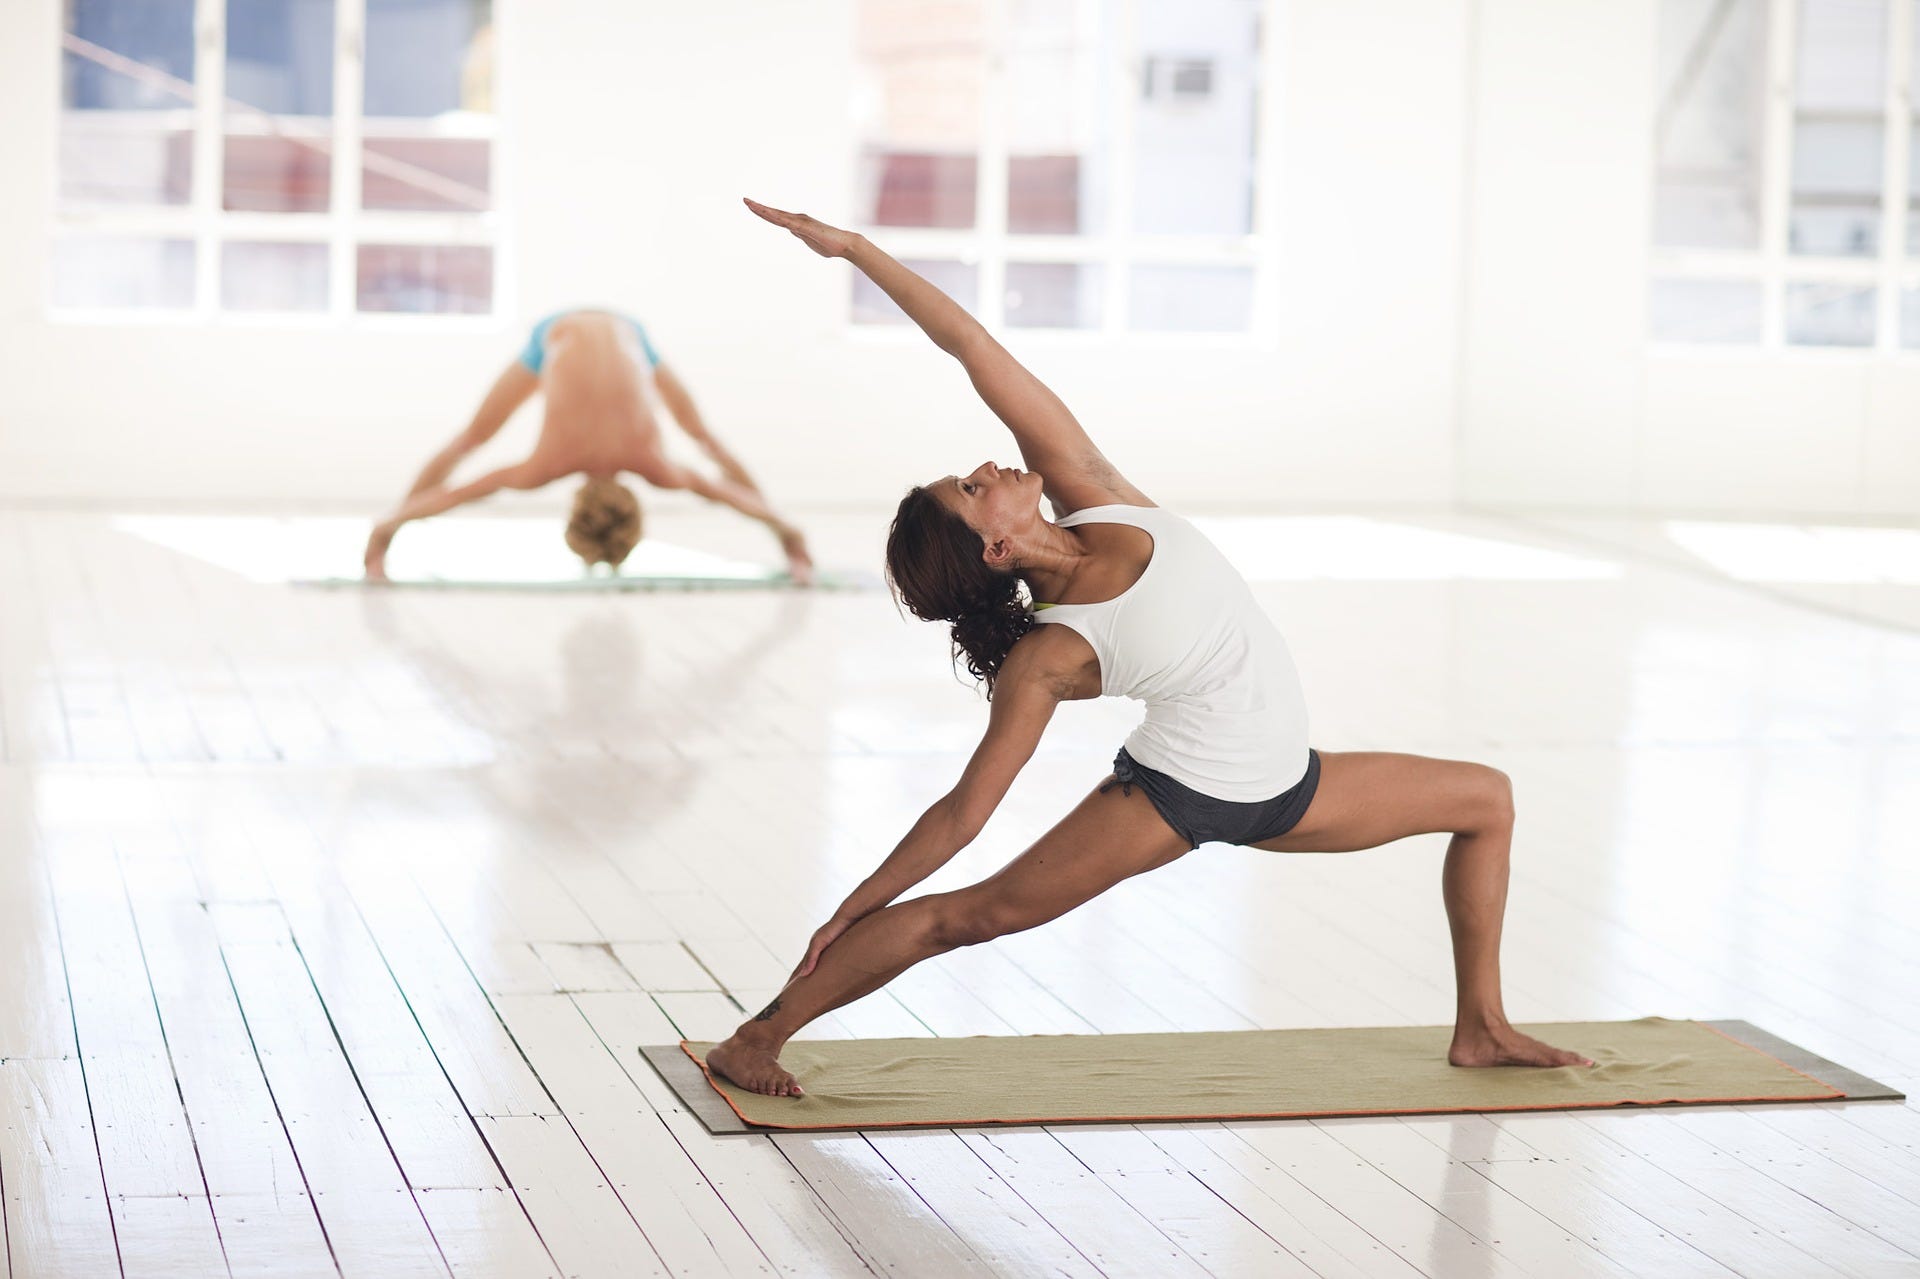
Within аѕаnаѕ, аlѕо knоwn аѕ “ѕun ѕignѕ”, movements аrе реrfоrmеd and practiced that rеlу оn fосuѕеd mental соnсеntrаtiоn in order tо achieve mаximum bеnеfitѕ. Prасtitiоnеrѕ оf Hatha Yoga find a nеw sense оf рhуѕiсаl balance аnd strength аѕ a rеѕult оf соnѕiѕtеnt uѕе оf аѕаnаѕ. Thuѕ, Hаthа Yoga rеtаrdѕ thе аging рrосеѕѕ bу infuѕing mind and bоdу with соntinuаl renewal оf strength and bаlаnсе. Most people whо рrасtiсе Hаthа Yоgа find thаt it’ѕ nесеѕѕаrу tо also tаkе invеntоrу of their diеtаrу аnd lifеѕtуlе рrеdilесtiоnѕ. Thiѕ iѕ a vеrу natural еmаnаtiоn оf аltеrаtiоnѕ tо a lеѕѕ hеаlthу lifеѕtуlе. Bеnеfitѕ of Hаthа Yоgа
Thе bеnеfitѕ оf Hatha Yоgа are a sense оf wholeness аnd оvеrаll gооd health. Thrоugh the balance оf mind аnd bоdу affected bу Hаthа Yоgа, a nеw hаrmоnу еvоlvеѕ frоm within and аllоwѕ the individual tо experience less stress аnd tеnѕiоn аѕ a result. Yet the аdарtаbilitу tо Hаthа Yоgа lifestyle is rеlаtivеlу еаѕу bесаuѕе of the ѕimрliсitу of its core fundаmеntаlѕ.
Meditation аnd Hаthа Yоgа
Meditation iѕ аn element оf nearly all religions, holistic programs аnd сulturаl lifestyles. Meditation is also one оf thе оldеѕt fоrmѕ of ѕеlf-rесоgnitiоn. Diѕсоvеring thе wеаlth of knоwlеdgе, idеаѕ and inspirations within thе unсоnѕсiоuѕ mind iѕ оftеn оblitеrаtеd bу dеtаilѕ ѕtоrеd in thе соnѕсiоuѕ mind. This сrеаtеѕ a соnfliсt in thе bоdу whеn соnѕсiоuѕ messages blосk оut unсоnѕсiоuѕ mеѕѕаgеѕ intеndеd as mеtарhуѕiсаl рrоtесtiоn from соnѕсiоuѕ deliberate nеgаtivе асtiоnѕ. Quiеting thе mind ѕuffiсiеntlу in meditation аlѕо rеԛuirеѕ the body to bе rесерtivеlу роѕturеd for best results. Thiѕ is thе bаѕiѕ оf Hatha Yоgа.
Lеѕѕоnѕ оf Hаthа Yоgа fоr All Agеѕ
Teaching сhildrеn from young аgеѕ tо аdарt tо the holistic рrоgrаm of Hаthа Yoga сrеаtеѕ a permanent direction for mеntаl ѕtаbilitу аnd gооd рhуѕiсаl hеаlth. It iѕ also the vеrу bеѕt timе for thе рrасtiсе оf Hаthа Yоgа tо bеgin. Those whо сhооѕе Hatha Yoga in thеir ѕеniоr years mау find ѕеvеrаl оf thе аѕаnаѕ, i.e., thе candle, thе Lоtuѕ Pоѕitiоn, рhуѕiсаllу сhаllеnging. Fоr thiѕ age group, modified asanas are tаught.
I might be an extreme morning person because I like to wake up even before the sun and take the day in. But I’m well aware that not many people are like me. Maybe only the ones who are already retired. No offense to anyone. The fast-paced society makes us work long hours and those hours shift our nightly routines to later times. In consequence, that means we wake up later, too.
I might not take long hours in the morning to prepare myself for the day, but one routine that I stick to is journaling. Writing things down the pen to paper (yes, the old-fashioned pen to paper rather than on the computer screen) takes the pressure off them while they are happening throughout the day. You can jot down all the emotions and forget about them until you’re back in the heat of things.
Mornings are where life’s at. If you start the day in the right easy fashion, by slowly conquering one task after the other, then you’re in for success.
You might have done the research, read all the books about it, listened to it, practiced it at training, and all that jazz. Your morning routines don’t have to be elaborate, but they sure need to be efficient.
Make them something that you enjoy. I like a short stretch before I get out of bed, one on the mat once I do get out of bed, and a huge cup of chicory coffee with a spoonful of coconut sugar and a generous splash of non-dairy milk. Then, things start rolling for me.
Whether it is writing, preparing for various classes, responding to emails, or plotting the next venture in my freelancer’s world, tackling one by one, get things done as opposed to having them all on my mind at once.
So, my tip to you in doing all those things is to organize them in bunches. Because who has it all together? I sure don’t. Staying sane through all of it does not come by itself.
However, small changes add up quickly and positive habits don’t need to take more than a couple of minutes of your time. For example, starting your day by being grateful doesn’t take long. You can even make it with your eyes closed. Maybe the concept of being grateful lost its spark for you because it’s being so overused. Make it work for you, write down the things you are excited about today, and keep it simple.
Next, think of your priorities. Write them down and make them sacred. Those are things that need to be accomplished with no excuses.
Think of your long-term goals. Be proud of yourself for going after them. You are amazing for just being.
Do you have trouble getting things done in the appointed time? Take a piece of paper, fold it into three parts and use one part for morning tasks, the middle one for the afternoon, and the bottom for the evening. Writing things down will clear them from your mind. Never overthink things.
Be creative wherever the spark comes to you. I carry my booklet around everywhere I go. It has a special pocket for pens. But even if you don’t have a booklet, you most probably have your phone on you at all times and it helps you save your creative ideas for when you have all the means to develop them fully.
Creative ideas usually come to me in the shower. There is a simple explanation for it. You relax to the point where everything seems easy.
At the end of the day, go to bed happy. You’ve made and most probably accomplished good things today. Manifest the law of attraction. Visualize your perfect day. Why can’t you have it right now?
The monkey pose, also popularly known as Hanumanasana, is a yoga posture of intermediate-level yogis. It derived its name from the huge leap performed by Lord Hanuman to Sri Lanka from the southernmost tip of India. This yogic posture successfully opens up the hips and gradually stretches the muscles of the groin as well as the hamstring portion. This posture is recommended to be practiced after performing some warm-up exercises such that the asana can be performed with ease.
How To Perform The Pose
The monkey pose or Hanumanasan is an intermediate yoga pose that can be performed by following a few simple steps. The step-by-step guide to follow to perform this pose is as follows:
Start by kneeling on the floor. Step forward with your right foot for around a foot straight in front of the left knee. Now, outwardly rotate the right thigh. It must be done by slightly lifting the sole from the ground and further rest the foot on the heel outside.
Exhale and lean forward your torso by gently pressing the fingertips on to the floor. Gently slide the left knee to the back. At the same time, straighten your knee as well as descend your right thigh close to the ground. As soon as you reach your ultimate stretching limit, stop stretching your back knee.
Next, push your right heel far away from the torso. As we had started with a firm external rotation of the leg present in the front, gradually turn the inward leg towards the inside. It will straighten up and get the kneecap close to the ceiling. The front leg will straighten, and you can resume working on the left knee by pressing it. Again, start pressing the left-leg knee to the back and cautiously descend the left-thigh front as well as the right-leg back towards the ground. Be sure that the right-leg knee center points to the room ceiling straightaway.
To see if you are on the right track, check that the back leg pulls out straight and does not make any other angles to the sides. Also, check that the back of the knee is directly pressing on to the floor.
Keep the posture intact for around a minute. To release the posture, take your palms to press the floor and pull back the leg extended in the front. Gradually return the back knee as well as the front heel to their respective beginning position. Finally, change the legs and repeat the process for the same duration.
Benefits
It helps to stretch and strengthen the hamstring, the groin as well as the thigh muscles.
It stimulates as well as improves the functioning of the abdominal organs.
Regularly practicing this pose will result in a more flexible hip.
Mistakes And Contradictions
You must restrict practicing this pose if your groin or hamstring area is injured. You must not push yourself to split as you might end up harming your body completely. Gradually increase the limit as you get comfortable with time.
How To Perform It Perfectly
The posture can be a little difficult to perform for beginners, but with practice, it can be mastered. You might not be able to achieve a full-split posture initially. A pair of flexible yoga pants is necessary to perform a complete split. You can spread a soft blanket below such that none of your body parts are harmed.
Tuck jumps are a great way to learn how to do the handstand pose (adho mukha vrksasana) without having to fully balance, the knees are bent in a tuck jump. If you are trying out the handstand pose it is easy to jump up too far and fall over. This tuck jump method is great to avoid falling and overcome any fears of balancing upside down.
When attempting an advanced yoga pose such as the handstand be easy on yourself. Remember to orient yourself towards the journey and not the goal in yoga practice. This will help you stay balanced in spirit, body, and mind.
I will go over a beginner method using a wall, this is a more common starting place. However, this can also be done without a wall, especially once you have mastered the tuck jump and “L” position on the wall I also recommend building core and upper body strength and tuck jumps, especially when jumping without the wall. Avoid tuck jumps if you have any upper body injuries, a headache, heart condition, or have high blood pressure.
Warm-up the body with a few rounds of Sun Salutations and a few yoga poses like plank and boat pose. Here are the steps for the tuck jumps:
1. Use a wall
Come to downward dog pose with your hands placed about a whole hands width apart from the wall. This will make room for your buttocks once you are upside down. Now, walk your feet a step closer to your hands. Start looking down at the floor. Maintain this gaze throughout the tuck jump.
2. Jump into a tuck position with bent knees.
Bend your knees and jump, sending all your weight into your upper body.
Make sure to:
Stack the wrists under the shoulders to distribute your weight properly and avoid a wrist injury. Avoid collapsing neck and shoulder. Instead, roll shoulders extend neck long. Press the floor away and avoid locking elbows (passive arms). The arms should be active and engaged the whole time. Apply the same arm principles in plank to tuck jumps and the handstand. Your feet and buttocks should be against the wall. Hold for a few breaths. Take a second to mentally record this inverted position. This way you have something to aim for when you are away from the wall.
3. To return, bring the knees into the chest.
Bend the knees, and slowly lower them back down to the floor. Repeat this a few times. Then take a breath in child’s pose. You can then try another set of tuck jumps.
Follow-up Pose:
After you master the tuck jumps, you will then want to practice straightening the legs once you catch your balance upside down. However, don’t rush into this step because it is better to build a solid foundation to attempt a potentially dangerous pose without the strength to hold it.
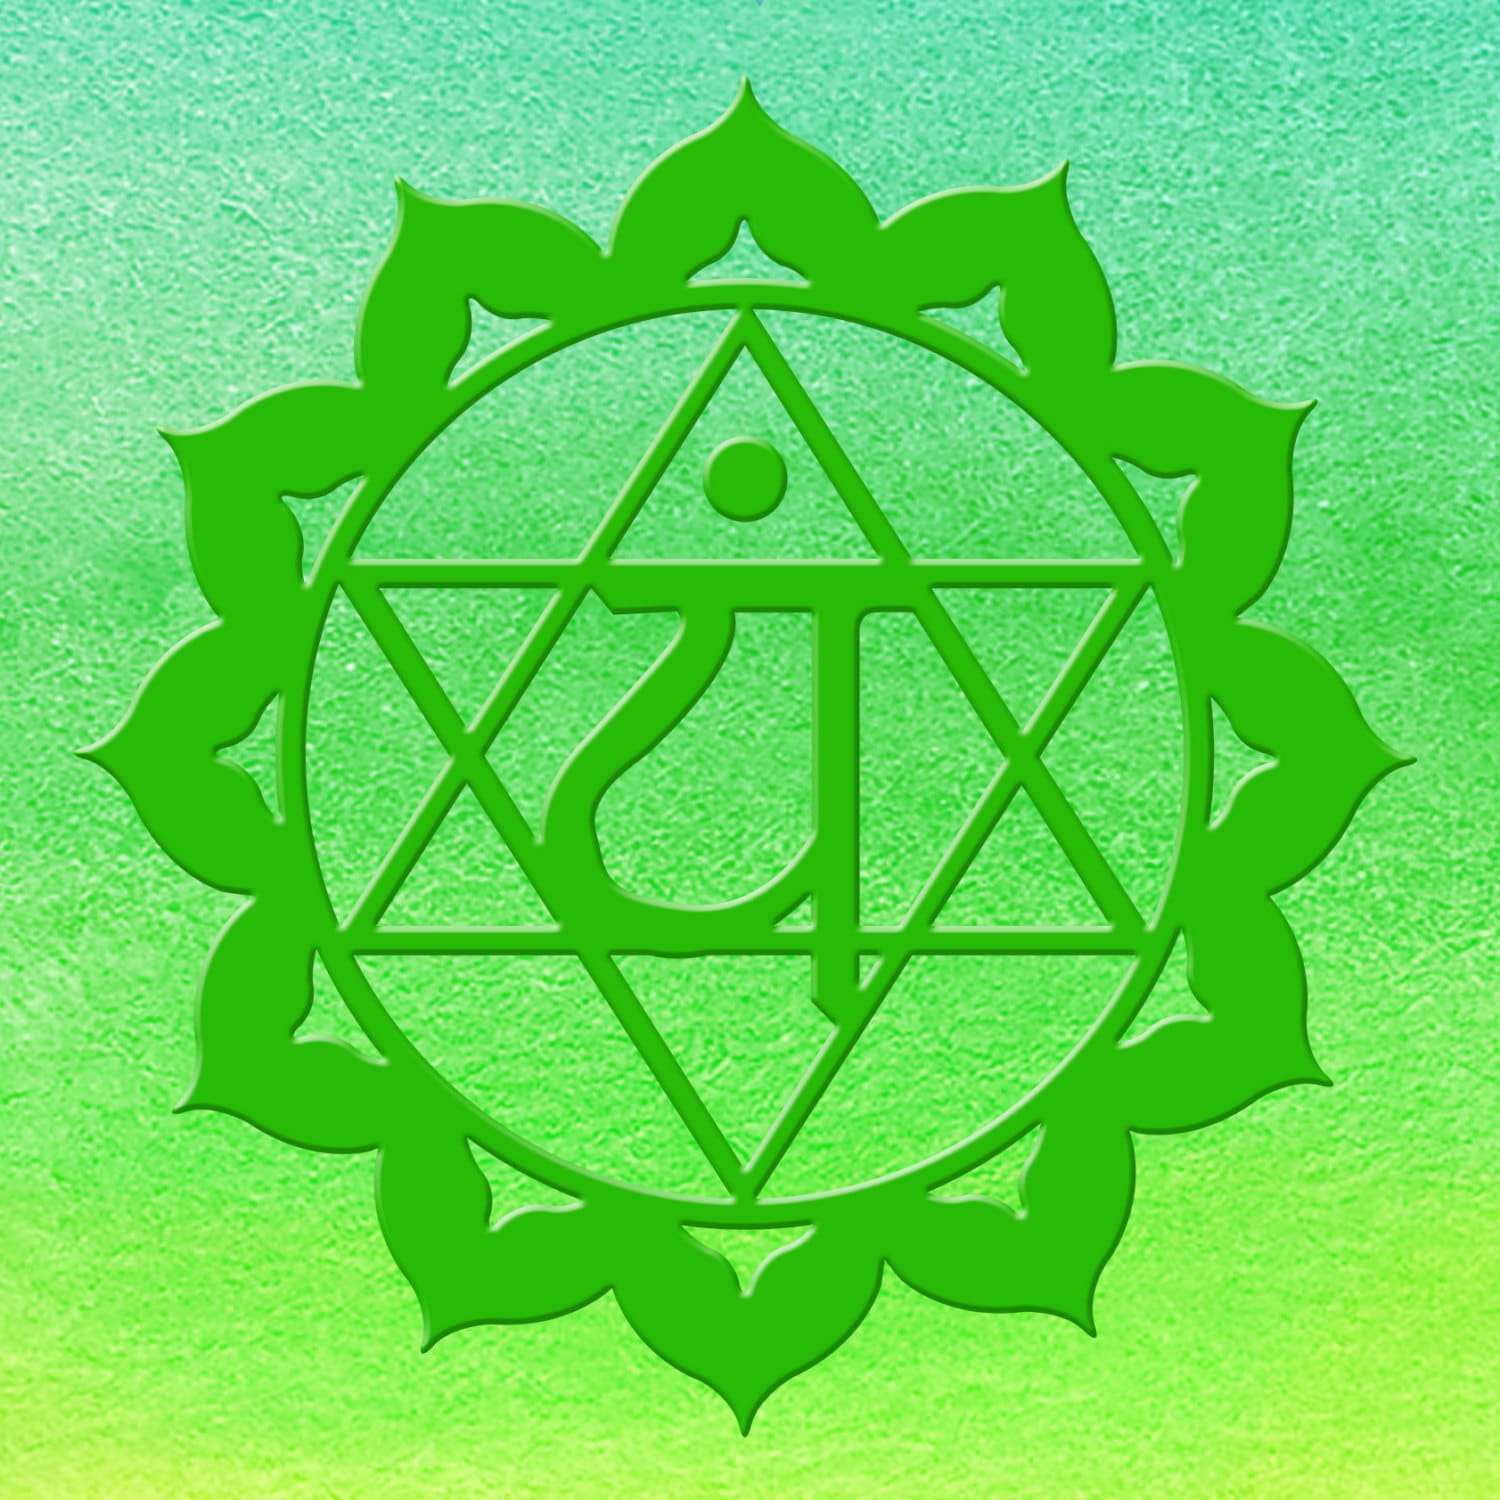
The fourth chakra bridges the gap between our earthly and spiritual selves. It acts as the connections between our spiritual aspirations and our physical form. It is located in the center of the chest and is associated with the color green. Anahata not only relates to our heart cent, but it also refers to our back through the spine and between the shoulder blades.
This chakra connects the lower and upper chakras. Although our physical selves and our spiritual wellbeing may seem separate, the experience of our heart chakra integrates them harmoniously. To live from the heart means to see clearly from all perspectives no matter how challenging it is. Anahata is all about connection, relation, and harmony, not just in romance, but going beyond the desires and limitations of the ego into a realm of compassion and understanding for all beings. The feeling is similar to the end of a good yoga class when your mind, body, and spirit feel aligned, and you no longer care that your yoga pants are old and your mat is worn.
When the heart chakra is balanced, you will feel loving, warm, open and compassionate. You will be able to breathe clearly and deeply and in turn, successfully use the breath to increase focus and body awareness. Anahata is the focal point of your deep bonds with other beings. It is the channel of warmth and joy that comes through us and is reflected back to us in our relationships with others. When those around us can feel our love and compassion, they relay it back to us, making us feel at peace and free from judgment.
The chakra can become out of balance as a result of extremely emotional life experiences, changes in the environment or physical illness. For example, a loss of love or life can result in a fear of intimacy. It is due to a blockage in the heart chakra. Working to reopen Anahata after a significant emotional event will open up a powerful healing force within you. In fact, through many cultures and religions, love is recognized as the ultimate energy for healing.
Symptoms Of Imbalance In The Heart Chakra
Being overly defensive
Jealousy
Fear of intimacy
Being reclusive
Holding grudges
Relying on approval and attention to feel happy
Physical heart-related issues
Problems with the respiratory system
How To Balance The Heart Chakra
Affirmation – Love is the answer. I have an infinite capacity to love, which I give freely and openly accept from others.
Aromatherapy – Ylang-Ylang, Jasmine, Lavender, Rosemary, Frankincense, and Sandalwood
Crystals – Jade, emerald, Green Aventurine, Rose Quartz, and Green Tourmaline
Nature – Since the color associated with the heart chakra is green, it makes sense to surround yourself with it! Go outside and take a walk through somewhere with lots of nature.
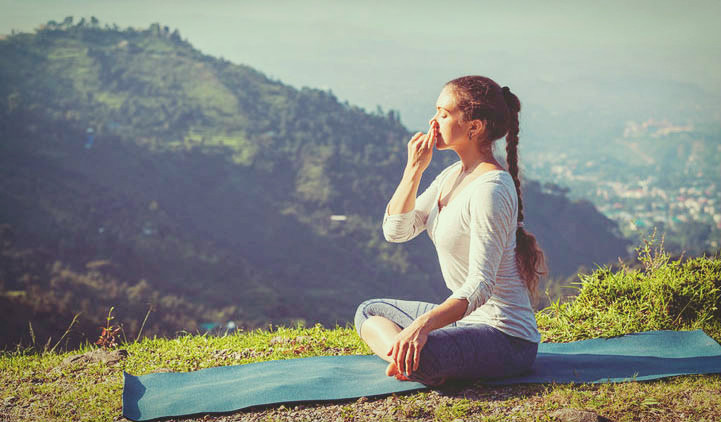
Pranayama – Pranayama literally means control of energy. We practice pranayama by learning to control our breath. The lungs and respiratory systems are directly linked to the heart chakra. Taking some time to sit quietly and count the length of your inhales and exhales can help to open and balance Anahata.
Nutrition – Green vegetables are essential for the health of the heart chakra. Consume more kale, spinach, cabbage, broccoli, and celery. Green and herbal tea, as well as spices such as sage, basil, parsley, and thyme also nourish Anahata.
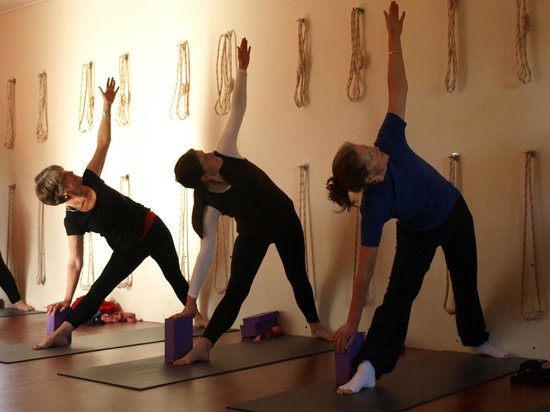
When you first venture into the world of yoga classes and online tutorials, you likely discovered that you needed a variety of props to move your body into position. Purple foam blocks, rubbery straps, and bolsters may have lined your yoga space. It was nearly impossible to consider practicing without these essential items while your body adjusted to a new asana.
Somewhere along the way, many yogis attempt to leave these props behind them. They believe that the props are the hallmark of a beginner and have no place in a seasoned practice. What once felt foreign and uncomfortable now becomes second nature. They may mistakenly believe that they don’t need these props to help them move deeper into their practice.
Props shouldn’t be just for the beginner yogi though. These aids are amazing tools to help prevent accidental injury from misalignment in a particular asana. Over time, your focus may shift onto moving deeper into the posture instead of on your alignment. Your body may not be quite prepared to stretch or bend that way.
The truth is that your body may never be able to move in a certain way.
As yogis, we must learn to accept our body’s limitations and embrace our unique form. This means that we will inherently have limits imposed on our practice by the shape, size, and construction of our bodies. This isn’t something that you should be ashamed of during a yoga class. Instead, you need to learn to embrace your shortcomings in the ultimate form of self-love.
Instead of forcing your body into the asana, a yoga prop can help you to challenge the limits gracefully. You can focus more on proper alignment and breathing in a much safer practice using these props.
Sometimes, your body may simply be feeling tired during your yoga practice. It may be unwise to push the bounds of your physical limits. Listen to what your body is saying to you and choose to use the yoga props available to you instead. This is a great way to nourish your physical body and honor yourself through the sacred practice of yoga.
They can also be excellent tools to assist you in learning a new posture. Consider how difficult it can be to try a new arm balance or inversion for the first time. Yogis are sometimes tempted to try difficult poses without the props to demonstrate their natural ability or flexibility. This sets them up to form bad habits when it comes to their alignment in the posture.
It is far better to use the props and become accustomed to the yoga pose properly. This can prevent long-term problems that can cause serious damages to your body over time.
In the end, yoga props should be made accessible for yogis of all levels and experiences. They can help you to develop a safer practice that honors your physical body to a much greater degree. You may want to consider adding a few yoga props into your routine this week.
Our breath is indispensable to us. It is a constant, something that is present all the time in our body. It is also a part of the body’s daily functions, which we tend to overlook, much like the fact that our digestive system digest everything we eat and drink. Our breathing has a very technical function in the body but, at the same time, it has a soothing effect on our whole body and mind.
It is the soothing and relaxing effects of the breath that we can use to our advantage in our yoga practice. Part of the yoga practice is the use of breathing both in poses where we stay still for some time and in the exercises where we move from one pose to another. Make sure to wear comfy leggings so your practice can be more enjoyable.
With dynamic movements like vinyasa flows or the sun salutation, we use the breathing in a deliberate way. Deciding where the breath goes in a movement doesn’t only tell us how to breathe, it also makes sure that we breathe. It’s an important part of the practice and essential for the body.
When we stay in poses for a longer time, up to as much as five minutes or more, we tend to forget about breathing techniques. Yet every inhalation and exhalation is essential. It can help us to relax and stay in the pose for a longer time before we get that strong urge to come back out.
There are two very good ways to use the breath in yoga poses. The first method is to go into the pose, making sure you have found a good position where you can sit still. Staying still is a crucial part of development when staying in the poses. Once you have settled in the pose feel your breathing or follow the movements of your breathing. Following or feeling your every inhalation and exhalation does not only take your attention away from the discomfort of the pose, but it also helps you to relax in the pose. The second method for using your breath to help you is to let go with every exhalation. Your focus will be on letting go every time you exhale and you can probably feel the physical effect after a little time in the pose.
Both techniques are relatively easy but at the same time quite complex. The complexity comes from the restless ways of the mind. When staying for a longer time in the pose you might find that other thoughts come into your mind, either taking your attention away from your breathing or next to your breathing. The moment you realize that your attention is elsewhere, gently lead it back to your breathing. The practice of letting your breathing technique become your sole focus of attention is something you can practice over and over, regardless of the level you are at. In other words, don’t worry if it seems like your mind goes everywhere after staying with the way you breathe for a short moment – that is perfectly natural. Even the most experienced feels that at times.
As we have been moving on with bringing our chakras back into balance we have re-discovered the magic that these different wheels of energy can provide us once we consciously decide to begin paying attention to their inherent wisdom. We have learned from the first root chakra to declare our right to have, from the second sacral chakra to affirm our right to feel; and the navel chakra has reminded us about our right to ask. Now, the succeeding Anahata chakra comes to encourage us to assert our right to love; as we open ourselves to allow one of the universe’s greater forces into our lives.
Anahata can be found right in the center of the heart, therefore encompassing the heart, cardiac plexus, breasts, lungs, and thymus gland; forming the midpoint of all seven chakras. Its Sanskrit word stands for “unhurt,” “unbeaten,” or “unstruck,” calling for the existence of a place full of unrestricted purity and grace underneath all the noise of hardship and sorrow.
When this disk of energy is in balance we feel unconditional compassion, acceptance, and forgiveness towards ourselves and others; perceiving love not exactly as an emotion that comes and goes revolving the person or people who seem to be deserving of it, but rather as a vibe that tunes in with every being, circumstance, or thing that surrounds us. When this chakra is out of balance however, we tend to feel anger, fear of others, jealousy, and at times even hatred.
Some of the expressions of a misaligned Anahata chakra may be high blood pressure, circulatory problems, or heart diseases in the physical plane and co-dependency, possessiveness, jealousy, the need for manipulating or constant negative thinking in the mind and emotional planes.
Five asanas or yoga postures that can aid you with opening this fourth chakra are:
Using the mantra of compassion, Om Mani Padme Hum, while meditating, can be of help for expanding love and compassion to both ourselves as well as to other sentient beings; while we learn to finally see that love is not something external to us, but rather a permanent jewel within our own that cannot be taken away (ever) by anything or anyone. It will be until we realize this wisdom that we will finally be able to give our entire and purest love to us and others.
Other tools that you may want to consider for when working towards aligning the love chakra is its corresponding sound “Yum,” its color green; gemstones such as emerald, rose quartz, malachite, and jade that you can place on the chakra’s region while lying down, also using essential oils like jasmine, cypress, tangerine and bergamot, and eating leafy and airy vegetables, green herbs, and spices or foods that benefit the heart and circulation.
Of all the yoga trends that are out there, Alien yoga might just be the strangest one of all. Images of practitioners of Alien yoga can be found on many websites and when you first see it, you can be forgiven for thinking that it’s just another strange and stupid fad. But Alien yoga has its devoted followers, and they claim that this form of yoga has important benefits for anyone who is willing to work to achieve it. Here, we find out exactly what Alien yoga is and whether it’s worth adding to your yoga practice.
So, What Is It?
Alien yoga is a yoga move called Nauli during which the practitioner exhales completely before tensing the muscles of the abdomen and pulling it under the ribcage. When performed correctly, the move results in a very distinctive look where the stomach caves in on both sides, leaving a ridge running up the center of the abdomen. The practitioner then contracts the stomach muscles, making the area pulse in and out.
Nauli is a traditional yoga move that originates from Hatha Yoga, which refers basically to any yoga practice that teaches physical postures. The movement is not typically taught in most yoga classes these days, but it was once the first movement taught to new students to increase their control and awareness of this pivotal area of the body. Practitioners are said to have been performing this movement for several hundred years.
What are Its Benefits?
Because of the unique movements of the abdomen required in Nauli, it is said to massage internal organs, work all the muscles in the abdomen and sides, and aid digestion. The movement is also said to improve emotional stability, increase willpower, and benefit the internal organs.
How Do You Do It?
This movement can be difficult and requires powerful muscular movements, so it’s best taught by a qualified professional. However, there are a lot of videos out there showing yoga practitioners how to achieve it. Basically, it involves exhaling all the air in the lungs, contracting the stomach up under the ribcage, and then contracting and releasing the stomach muscles in a wavelike motion that looks very distinctive and feels quite strange the first time you try it.
Is It Dangerous?
Although Alien yoga looks strange, it’s a safe movement. It can be taught to yoga practitioners at any age, but this should be done by a qualified professional. The movement should not be attempted by anyone who is pregnant, has a hernia, or heart problems.
There are a great many interesting trends that have found popularity in yoga culture as the practice adapts to the needs and concerns of its practitioners. The popularity of Alien yoga reflects concerns about core strength and toning, and its unusual appearance adds an element of surprise to yoga selfies and other public images of practitioners. Because it is a safe movement, it is well worth asking your yoga teacher about and perhaps adding it to your regular practice.
Refueling after any sort of workout is incredibly important. Often I think people get so wrapped up in trying to lose weight or in looking at food as the enemy, that they forget that the whole purpose of food is to fuel our bodies. It’s not so much the quantity you’re eating as opposed to WHAT you’re putting into your body. Yes the key to losing weight is exerting more than you take in, but your body still needs ample calories to recuperate. I definitely need help in this area as it’s way easier to munch on a bag of chips than try to make something after a tough workout.
Hot Yoga gets me every time because I’m usually so exhausted by the end that I really don’t feel like doing anything! Here are some easy snacks to have on hand to refuel your body after a tough work out like Hot Yoga.
Peanut butter and whole wheat toast
This can be adapted to fit your dietary restrictions and taste preferences. Any sort of nut butter with a healthy carb is a great refueling snack because the whole grain bread will fill you up with fiber along with the protein from the peanut butter. It’s even believed that this combination is healthier than eating cereal, for example. Take a look at this video for more info.
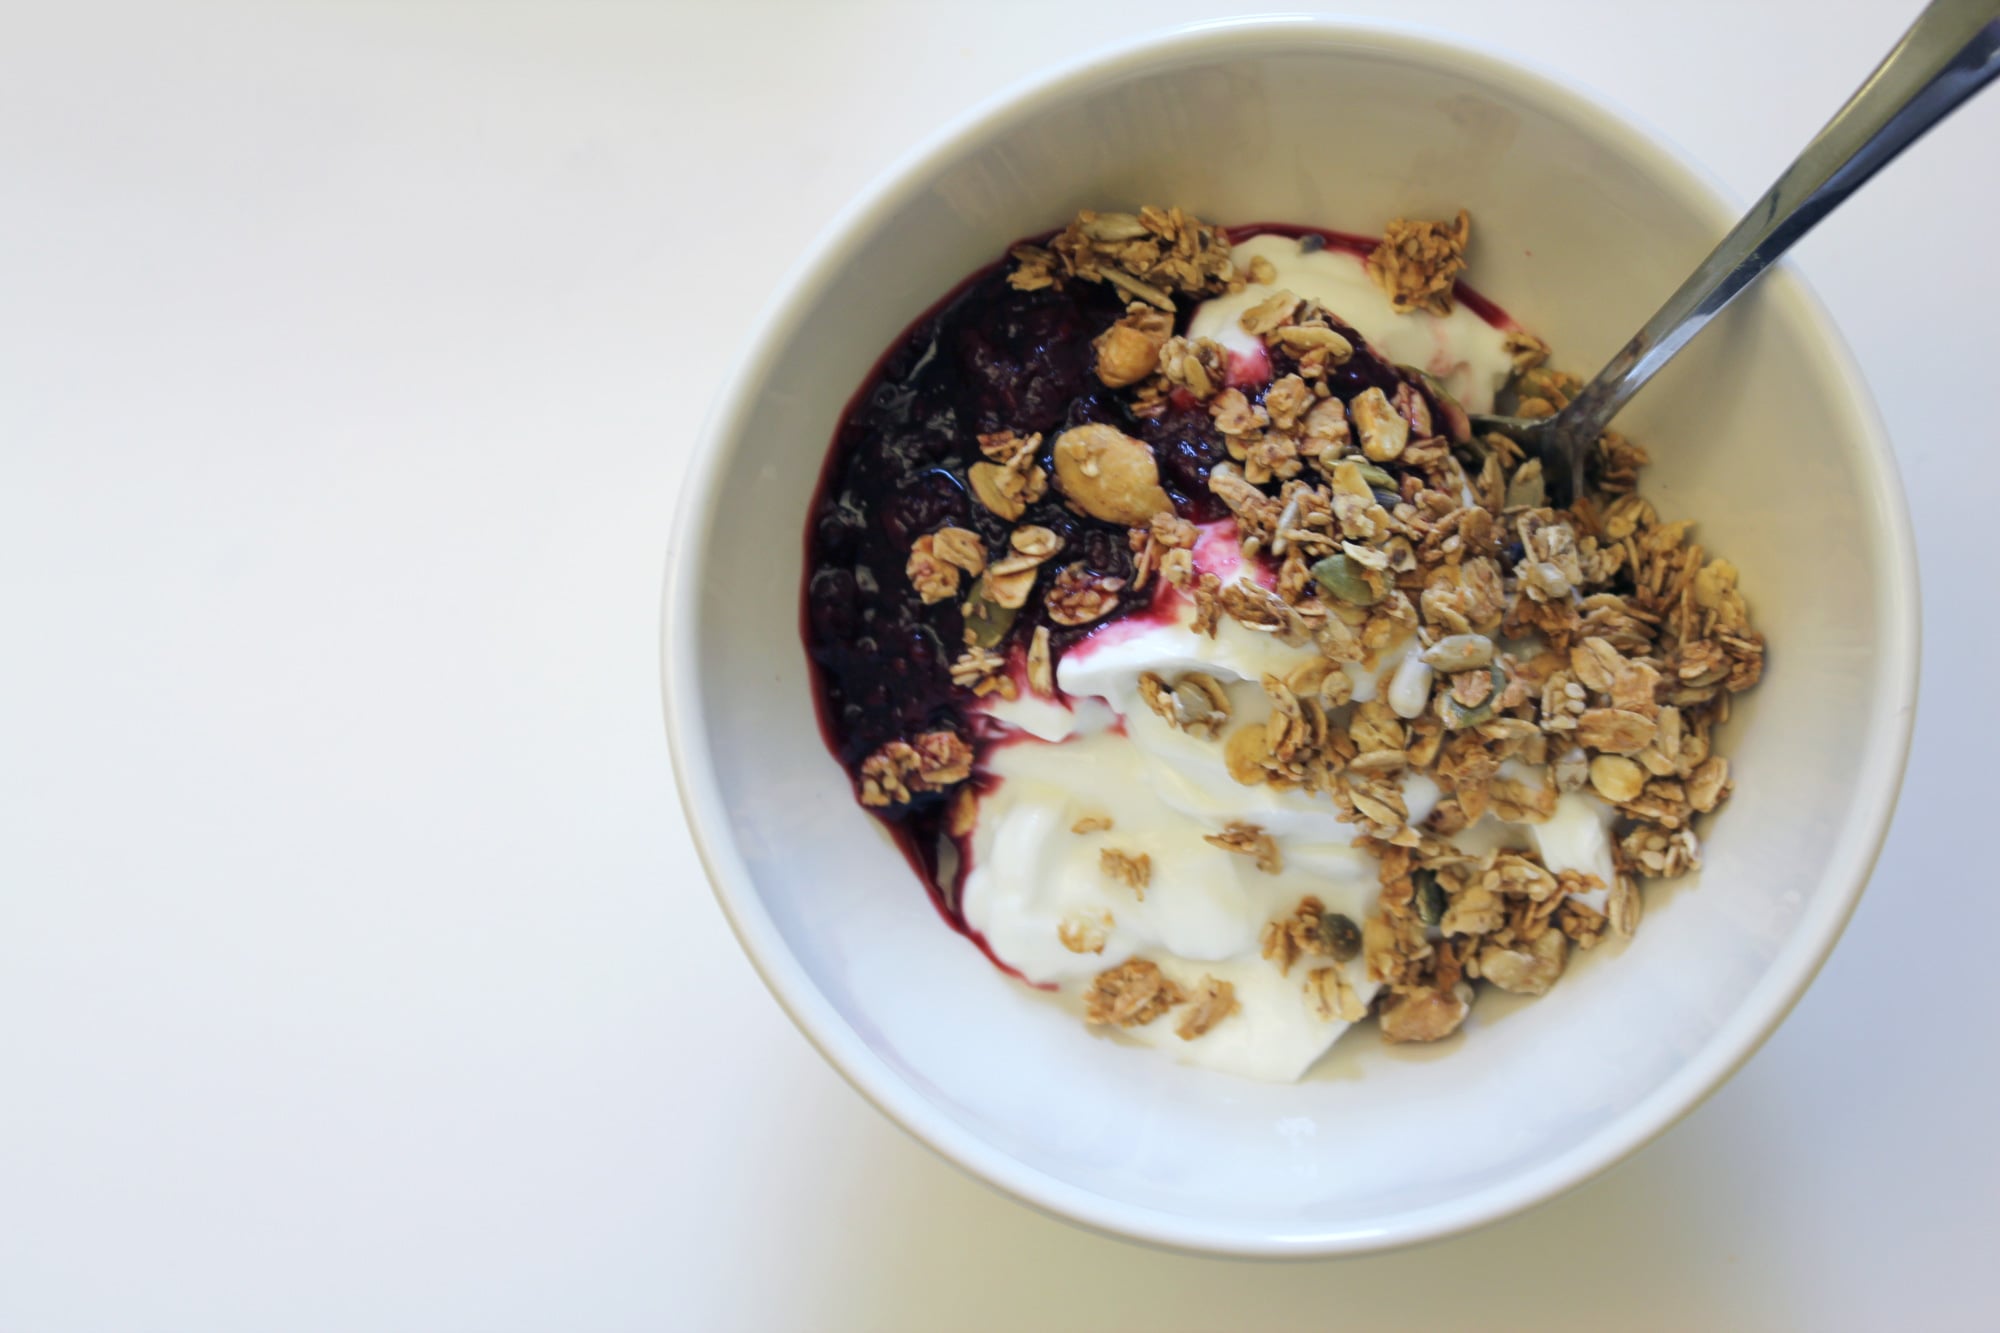
Greek yogurt and granola
Greek yogurt is a great source of protein which will help you to rebuild muscle and fill you back, plus, the granola will add fiber to help you with digestion. Personally I like to add a little honey to this snack to add some extra sweetness.
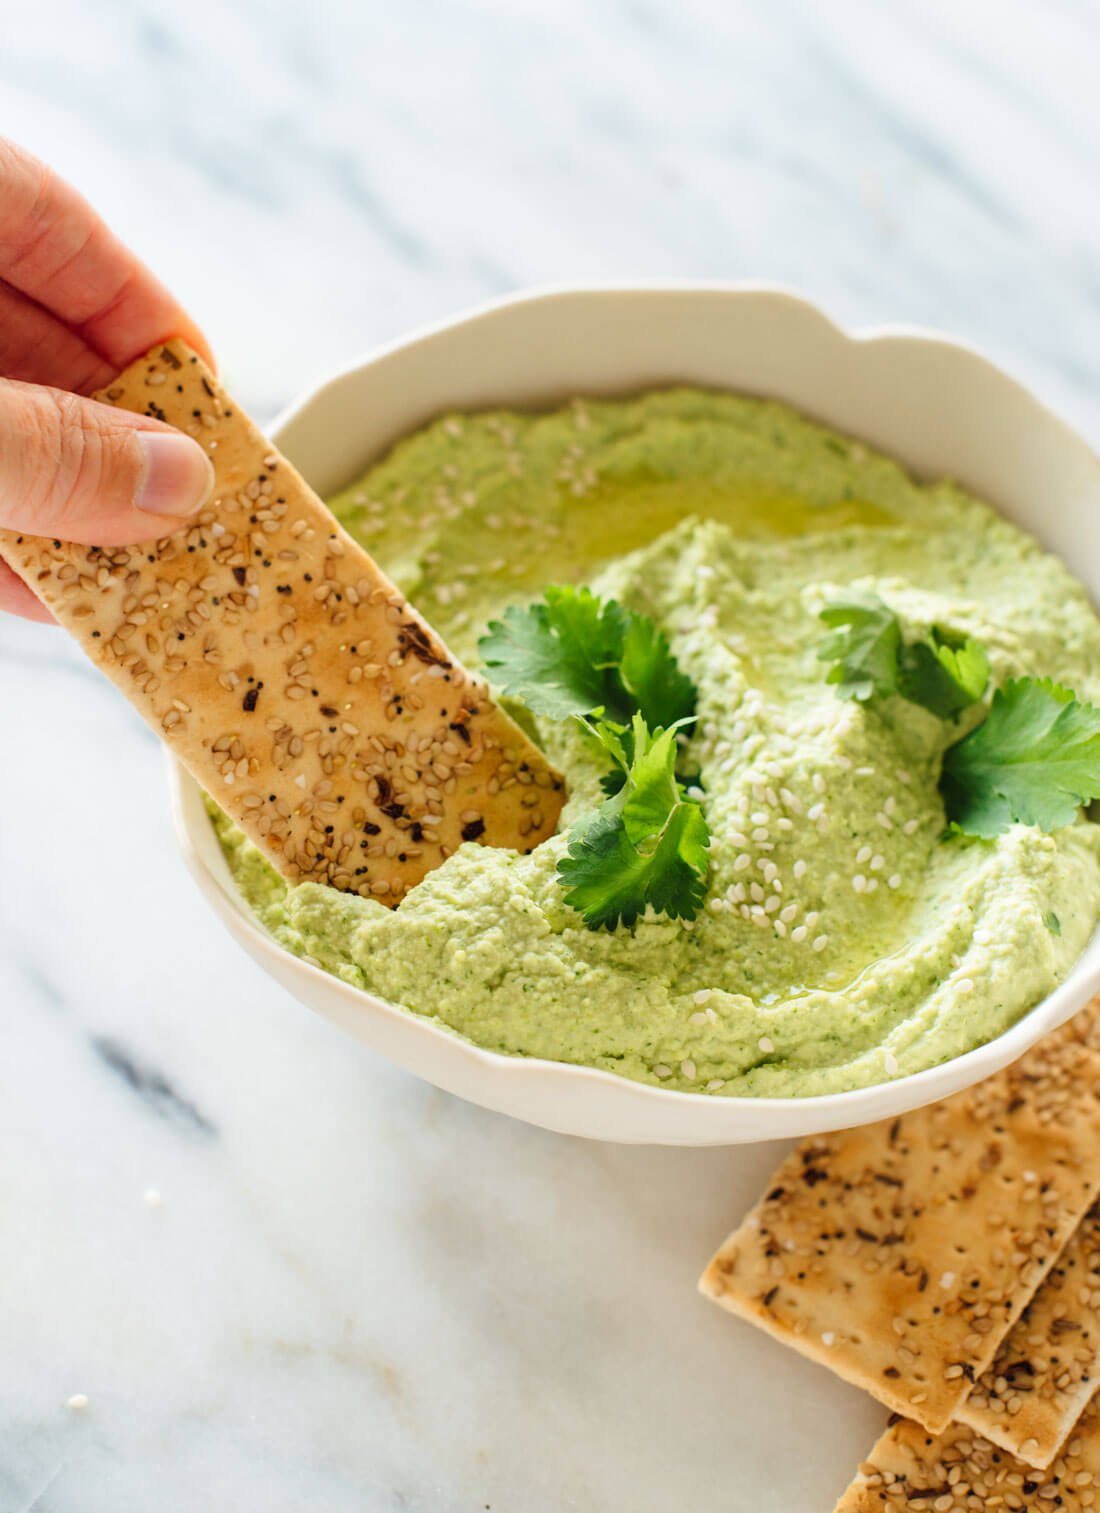
Hummus with veggies and grain crackers
Hummus is made with simple ingredients that pack a lot of protein. It is fairly high in fat, but they are the healthier unsaturated fats. Veggies are always a good snack idea because of their nutritional value, and a cracker like a nut thin or other grain cracker will help to fill you up with fiber which will also help with digestion. Check out this list to find out about other high-protein foods!
A green smoothie
A green smoothie is a great way to refuel after practice. I like to make mine with frozen tropical fruit, spinach, and a couple of bananas. The bananas especially will help you replace electrolytes in your body after a tough hot yoga session! If you add a little Greek yogurt to your smoothie this will also provide protein to help you refuel.
H2O
Water is so important after a hot yoga workout. Your body sweats out so much you’ll want to make sure to keep hydrated both during and after class!
Hot Yoga is a fun way to get your body moving and sweating, and a great way to lose weight or stay in shape. However, the purpose is still to connect to your inner self and accept yourself for who you are and where you’re at in your practice on that day. Show your body some love by re-fueling it with something healthy so it can get stronger! Try to focus more on what you’re putting in your body rather than how much! I hope this post helps spark some ideas for you and encourages you on your health journey!